This topic demonstrates how to set up an address book for the CopiaFacts Client based on an Excel list. A similar procedure can be followed to access any data table for which a Windows data provider is available.
 | Currently, your spreadsheet must be saved as an XLS file, not XLSX. |
Note that your existing list is linked so that the CopiaFacts Client can read it, not write to it. To edit the entries in the list, you should use Excel, or for other table types, use the application which owns the data.
Preparation
You should add a header row with recognizable names to your spreadsheet if there is not one already. If you intend to use the list also for broadcasts, it is also simpler to put the fax number in the first column:

Selecting Address Book Name and Source
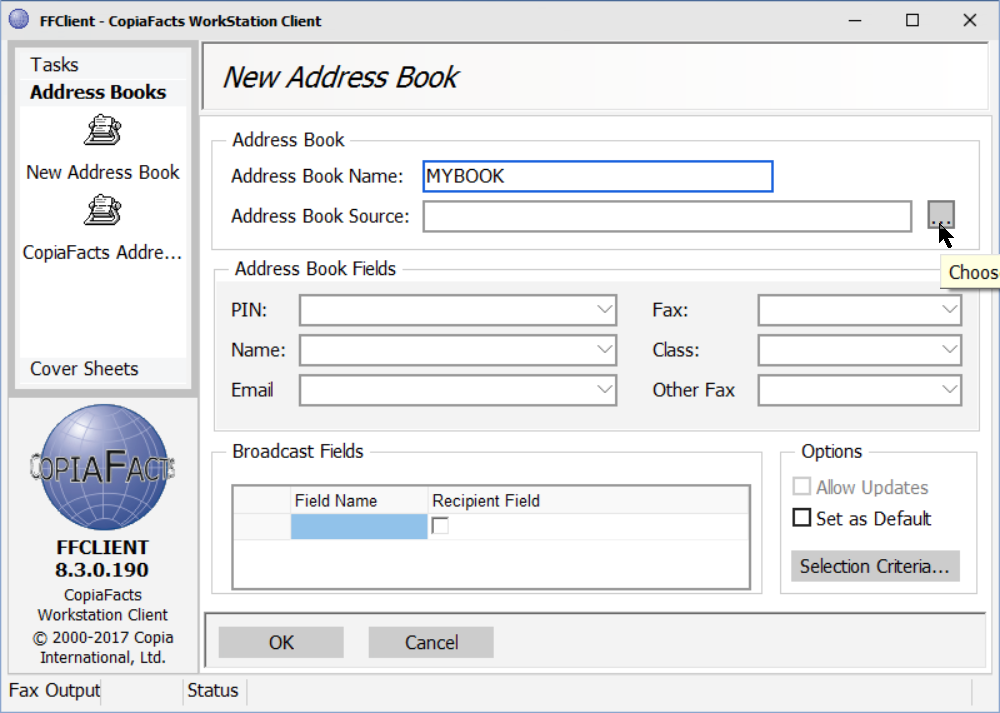
Click on New Address Book in the left panel, then enter an address book name and click on the browse button for Address Book Source:
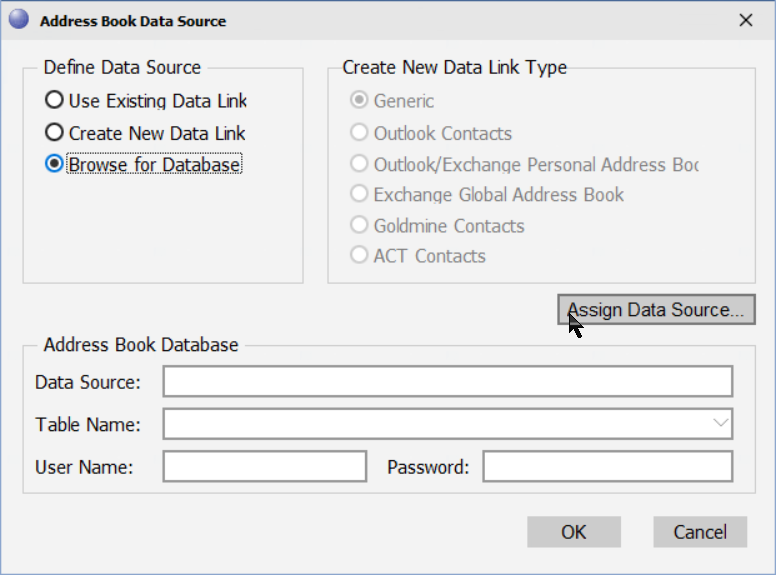
Then in the next dialog, select Browse for Database and then Assign Data Source:
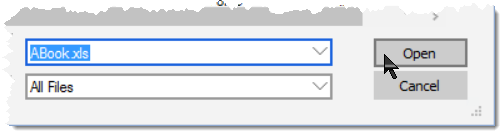
Then browse for your XLS file after selecting Excel in the File Type:
Setting up the Data Link
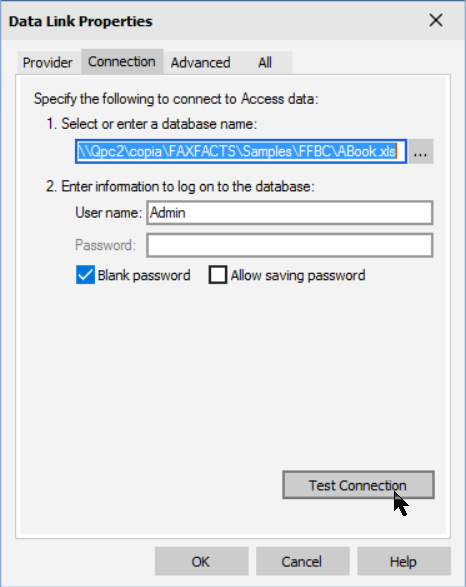
Opening the XLS file will bring up a Data Link Properties dialog. First, test the connection:
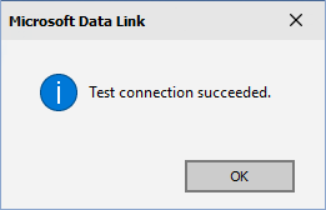
This should confirm that the connection is good:
Finally, click OK to close the Properties dialog:

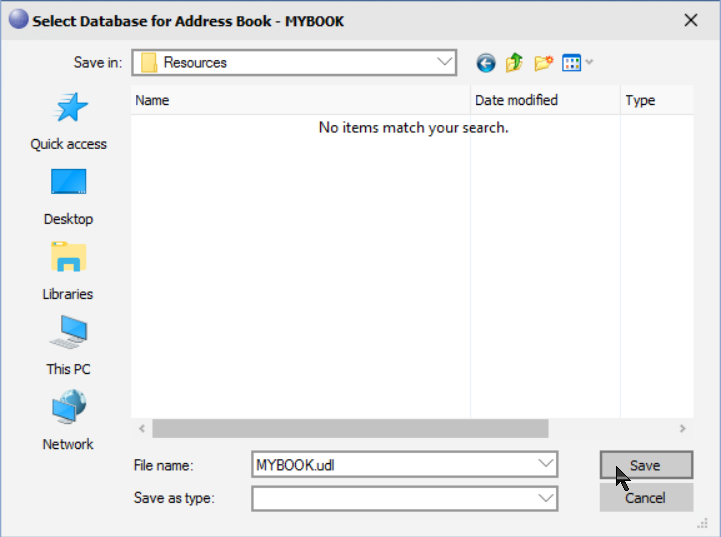
This will open a dialog to save the UDL file for your connection. For a personal mailbox, we recommend saving it in the resources folder below your personal named folder in FAXFACTS\USERJOBS:
Connect CopiaFacts Client to the selected Address Book
After saving the UDL, you will return to the Address Book Source dialog in the CopiaFacts Client. Your Data Source name will be grayed out, but below it you must select the Excel Sheet to be used as the Table Name:

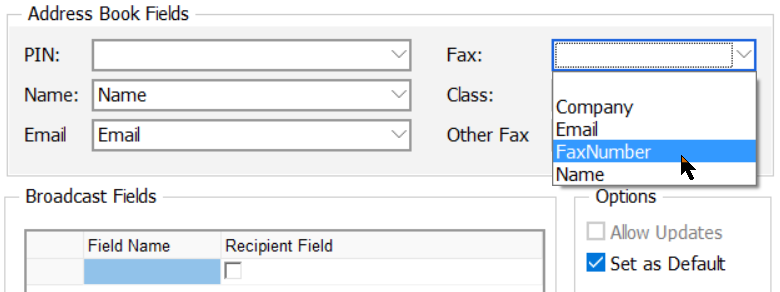
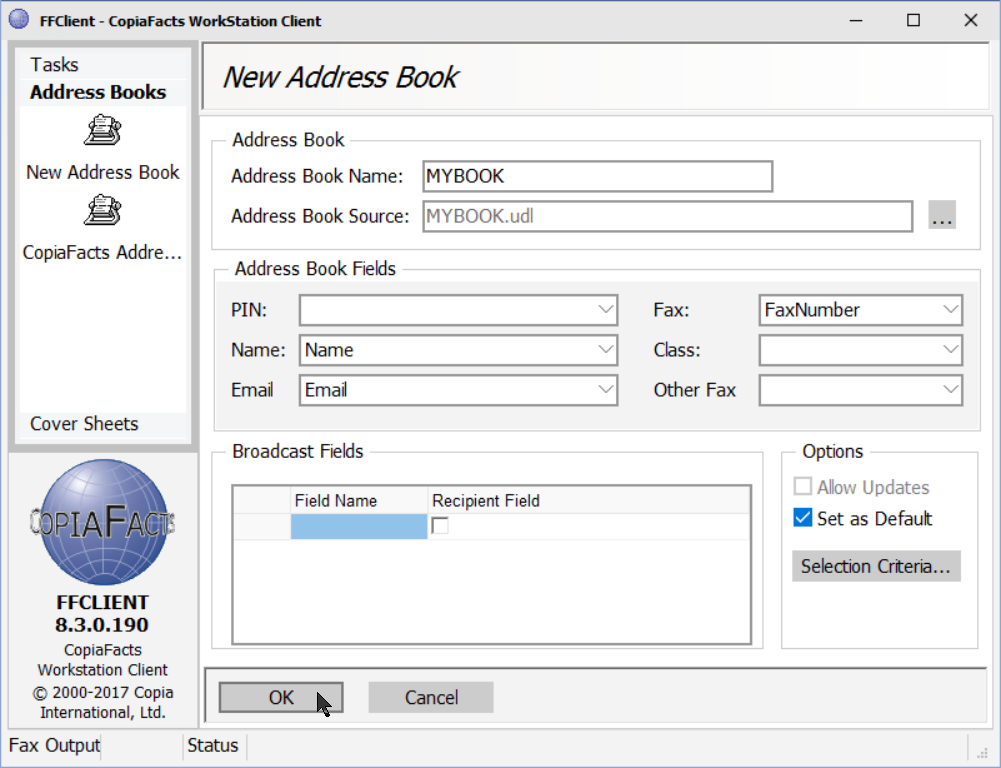
OK on this screen will return you to the New Address Book screen in the CopiaFacts Client. In the Address Book Fields section, choose the Address book fields (Excel column headers) by pulling down the list in each screen field for which you have an Excel column. In our example, this will be the Name, Email and Fax fields. The Excel column headers will appear in the pull-down:
Finally, check the Set as Default checkbox if you wish this to be your default address book, and click OK. This completes the connection of the address book to the CopiaFacts Client. Your new address book should then appear in the list under Address Books in the left panel.
Using the Address Book in the CopiaFacts Client
First click the rolodex icon on the main screen

This will display your default address book entries and allow you to select one by double-clicking it. You can also select a different address book from the panel on the left if you wish:
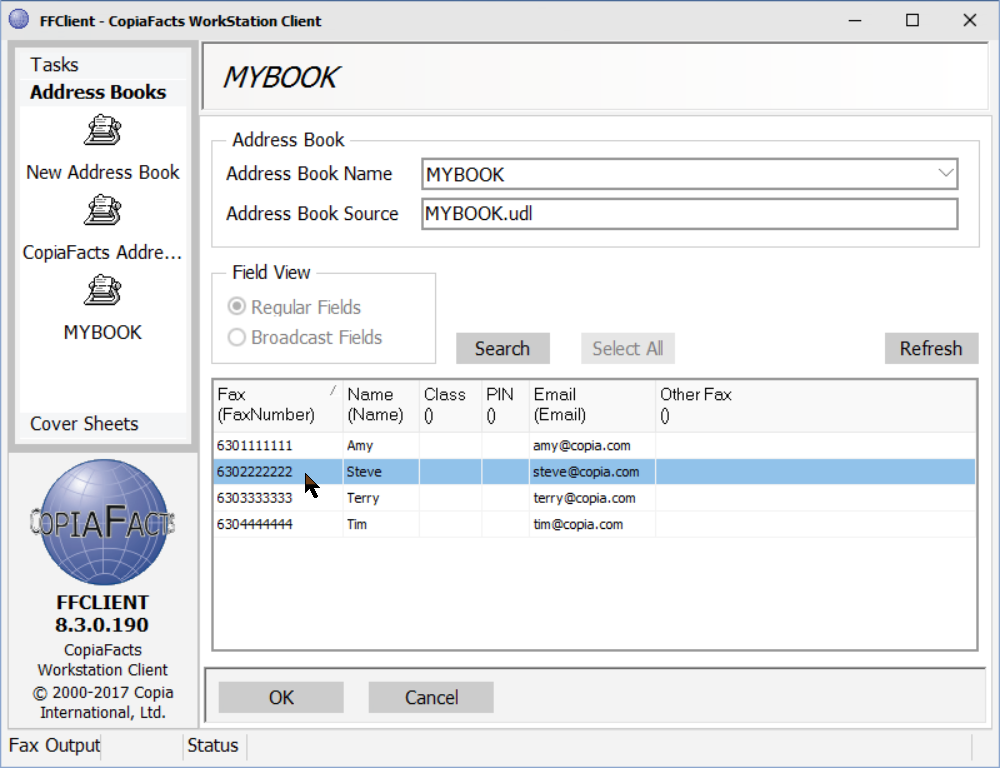
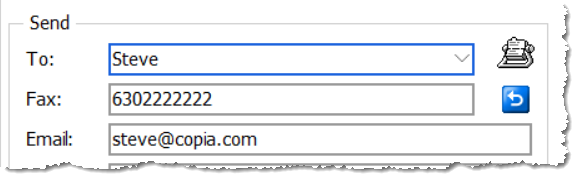
The selected entries will then be displayed for sending your fax: